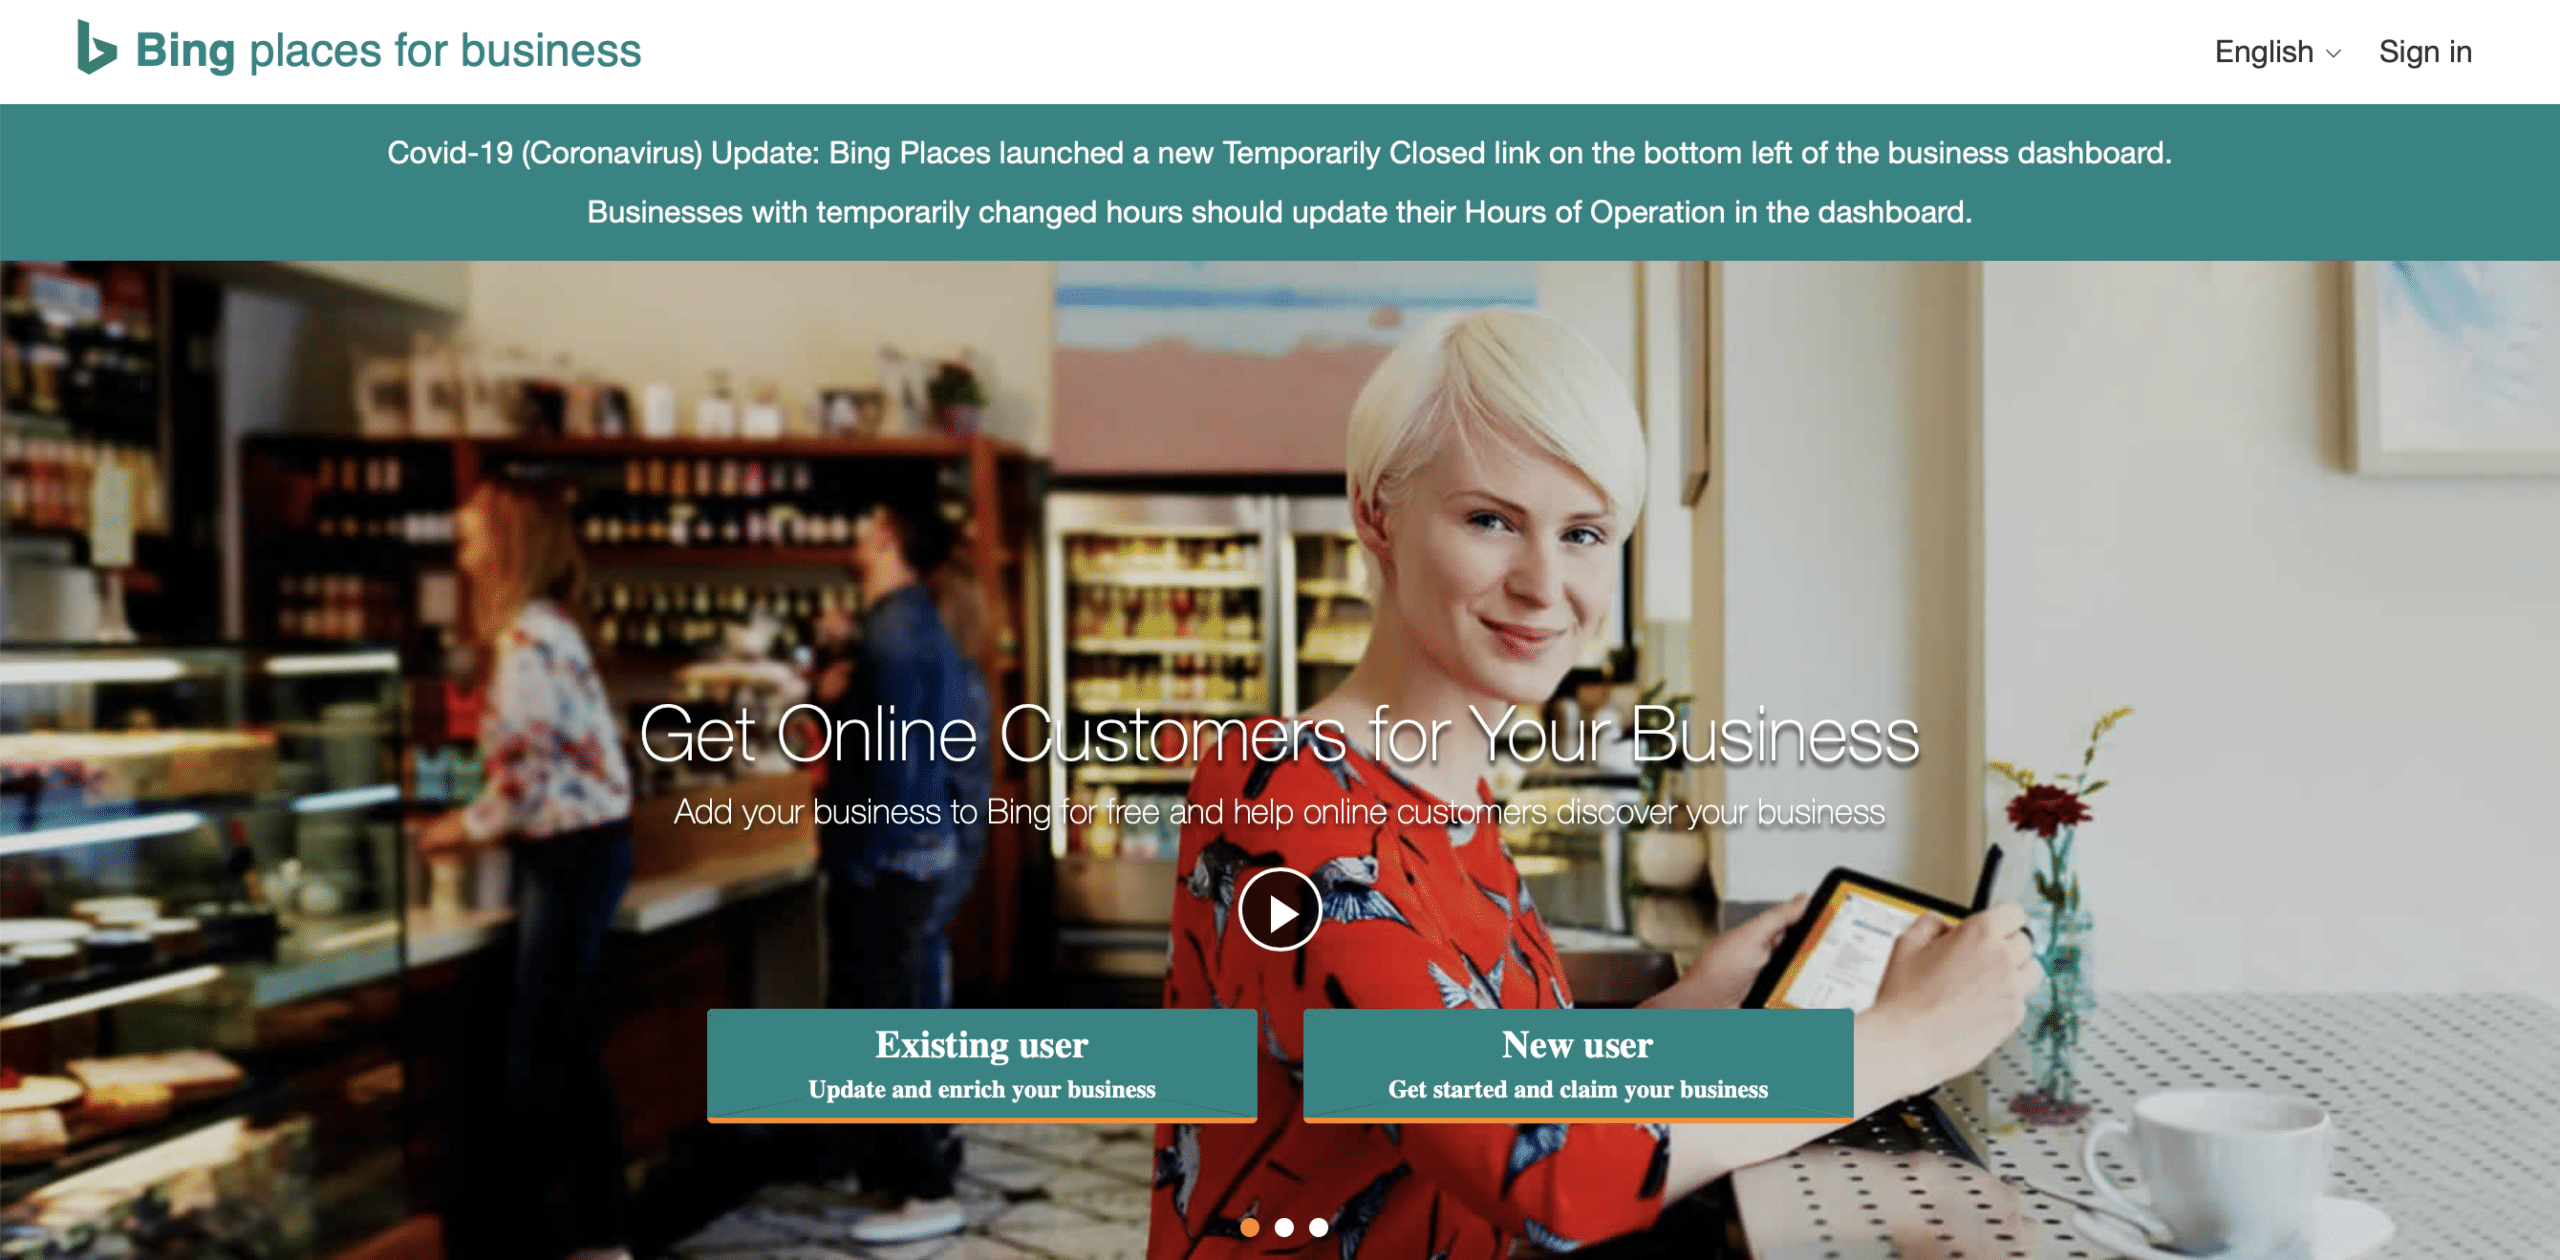
When we think of online searches, people automatically think of Google. It is true that Google has captured the largest percentage of search engine results, but Bing should not be ignored. It still gets a decent share of searches. To make sure you aren’t missing out on potential customers, you should claim the Bing Places listing for your business and optimize it. Here we will walk you through the steps on how to get your business’s pin on Bing Maps and its name out to more customers.
How To Claim Your Bing Places Listing
The first step in the process of claiming your Bing Places listing is to create a Microsoft account if you do not already have one. Bing is Microsoft’s search engine, and it’s much easier to work with it if you have an account. If your business is smaller and has fewer than 10 locations, Bing has a specific process for that.
Log in to your Bing Places for Business account. You can use your Microsoft account for this. Bing will then ask you to select your business type (categorized by the number of locations) and also the country your business is located in.
Bing does offer the option of importing your business’s data from Google My Business. If you have not yet claimed your Google My Business listing, you definitely need to do that, but you don’t need to do it first. You can search for your business on Bing using either your company’s telephone number or by name plus location. If Bing already has a listing for your business, it will appear, and you can claim it by clicking “Claim and edit details.” This will take you to Bing’s location dashboard.
If Bing does not have your business listed, don’t worry. You can create one by clicking the “Create new business” option. Clicking this option will also take you to Bing’s location dashboard.
The Bing Dashboard
Bing’s dashboard is the place where all of the locations that you add or claim will appear. You can edit them at any time, so don’t be afraid to add more details later after you’ve claimed a location. The dashboard will direct you through the steps in adding a business. This includes adding information such as:
- Name, address, and phone number
- Website
- Map location (Bing will not allow post-office-box addresses)
- Business category
- Business description
- Links to social media profiles
- Photos
- Open hours
After each step, Bing will prompt you to click “Next” when you’ve entered the correct data. At the end of this process, Bing requires that you verify your listing. There are several options for verifying your business that may be available, including phone, website, email and postcard. Of the options listed, choose the best one for you, and start the verification process. One note: if you choose the postcard option, it can take 5-6 days for the postcard to reach you, so it will delay the process somewhat. This may be your only option in some cases, however.
After the verification process is complete, Bing will allow your listing to go through the publishing cycle, and your listing will be visible in Bing search results and also on Bing Maps within 1-2 weeks.
It’s not too difficult to claim your Bing Places listing if you follow the above steps, but it can be slightly frustrating. If you need assistance with this, call Tom at (616) 426-9303. We would be happy to help walk you through the process, boost your local SEO impact, and capture more of your audience.


